|
I was fortunate enough to have some alone time with NetScout’s brand new AirCheck G2 (announced May 17, 2016). I tried to play with every feature and capture every screen but there are just so many tricks in this handy box… Here is what I liked.
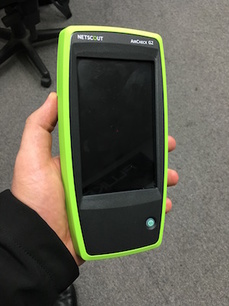
The AirCheck G2 is green, very green! I find it difficult to identify how I actually feel about the old yellow or the new green. The colour does provide a critical function as hand held tools are easy to put down and leave somewhere. Bright colours aid finding and reminding not to leave the unit behind. This is a tool for people tasked with any variation of the following roles: managing, maintaining, installing, securing, troubleshooting, testing, hacking, supporting and auditing wireless networks. Within 10 seconds of being turned on the AirCheck begins to scan the nearby wireless environment. It collects information about networks, Access Points, clients and channels which are all accessible under corresponding menu buttons on the home screen. You can tell your AirCheck is working hard in the background as it indicates the current channel being scanned at the top of the screen. It’s also likely the counters indicating found networks, Access Points and clients are increasing on each button.
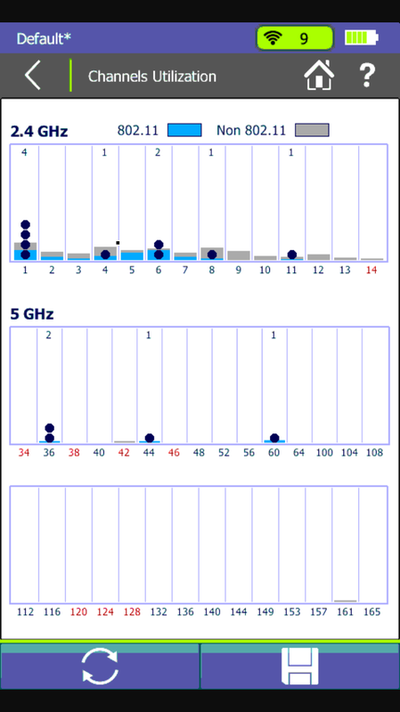
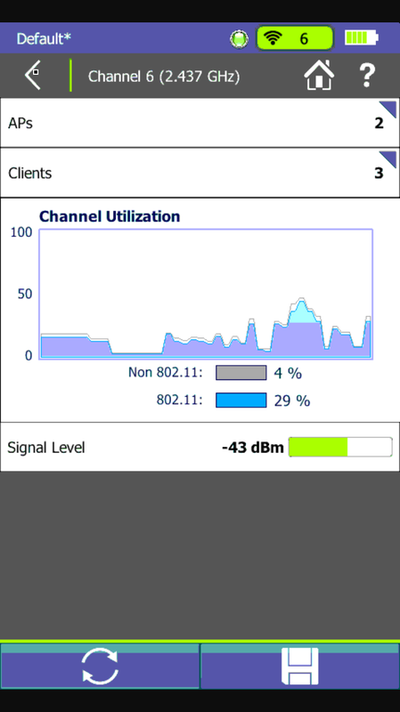
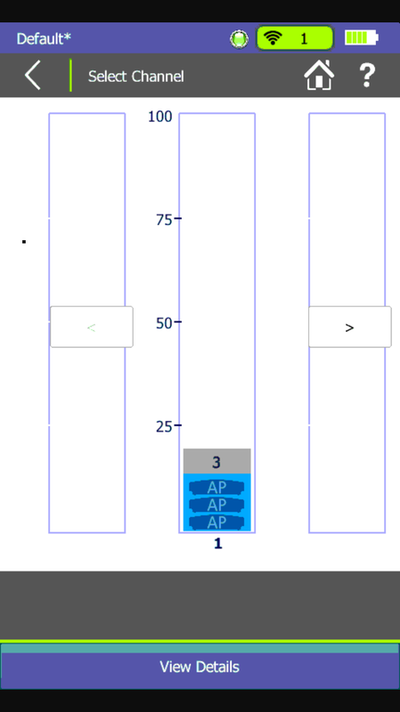
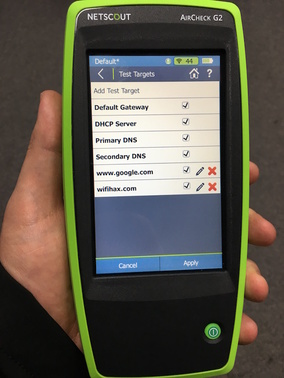
The channel utilisation screen is much like the previous AirCheck with a bar for each channel in which dots report Access Points detected, blue bars report channel utilisation caused by 802.11 sources and grey bars represent non WiFi utilisation. This is a great screen for a rapid view of the WiFi environment. Note though that this is not a spectrum analyser. Selecting a channel from here presents a more granular look at utilisation, signal level in dBm and direct access to view the clients and Access Points which are operating on the channel. 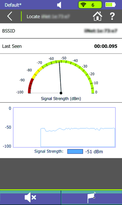 Hunting down specific Access Points or clients is made easier with the Locate feature, which is an option if you select a specific station from either the Access Points or Clients lists. I liken an AirCheck in this mode to a security guards handheld metal detector for WiFi Engineers. You’ll hear beeps increasing in frequency as you near your target (this can be muted if you are hoping for a silent kill) and the signal strength indicator and histogram assist in human computed trilateration. If client or crowd density, time to find or large distances are factors in your search then the exorbitant directional antenna option would be handy. This allows the operator to better isolate the direction in which signal from the station is at its strongest. Simply seeing whats nearby is cool but testing the network is where the AirCheck G2 begins to pay for itself. With the ability to associate to WPA2 Enterprise network (and all lesser options) with a great variety of EAP options the AirCheck can squash the time required to audit and test connecting to wireless networks. This is a good idea after deploying new infrastructure. You can even pre-load network profiles via the management software available for 64-bit Windows 7, 8 and 10 devices. Once connected you can perform roaming tests with detailed logging and check connectivity to DHCP, gateway, websites and DNS. Some of this data is then uploaded to Link-Live (for cloud logging) or full session data can be exported to the Windows management application.
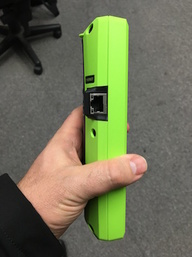
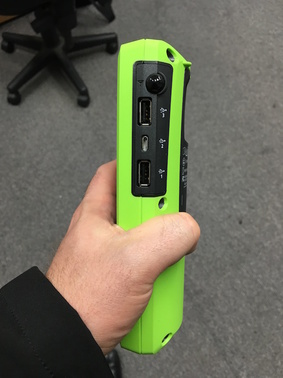
Curiously, the right hand side of the AirCheck G2 is home to three USB ports. On that note I will finish up with one word: Roadmap Loves:
I would Love:
If you are not already standing and shouting at your computer “Shut up and take my money” let me know why in the comments below. If you are interested in buying one (Australia/NZ and Asia Pacific readers) then let me know here.
Links: AirCheck G2 - Virtual Test Drive & Product Specs AirCheck G2 - Overview Video WifiHax at CWNP - Dilip Advani demonstrates the AirCheck G2 live
Comments
|
WifiHaxWe build and optimise networks. Continuous learning is our secret to being good. Along the learning journey we will share things here... Archives
May 2024
Categories
All
|

 RSS Feed